

Quick Start: Set Up Your First Server with xCloud Managed Servers
Updated September 27, 2026 · 4 min read
With xCloud, you can easily setup your first server & site without any coding at all. xCloud aims to simplify the process of hosting and managing WordPress sites, allowing developers and agencies to focus on building great websites without worrying about the underlying infrastructure. Now let’s follow these steps to get you started.
Step 1: Sign Up For xCloud With Credentials
First, you will need to visit the xCloud website and you have to sign up for xCloud with your credentials.
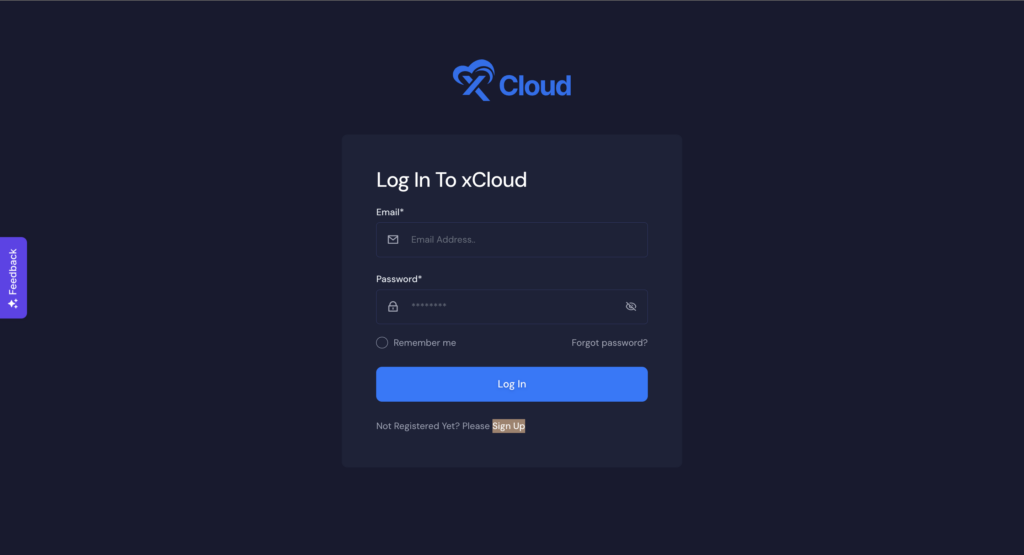
On the sign-up screen, add all the necessary credentials and make sure to add a secure password.
If you already have an account please visit our app URL below. After that you are ready to set up your first server & site with xCloud.
Step 2: Create & Setup Your First Server
After logging in to your xCloud account, start by adding a new server by clicking on the “ New Server” button from your dashboard.
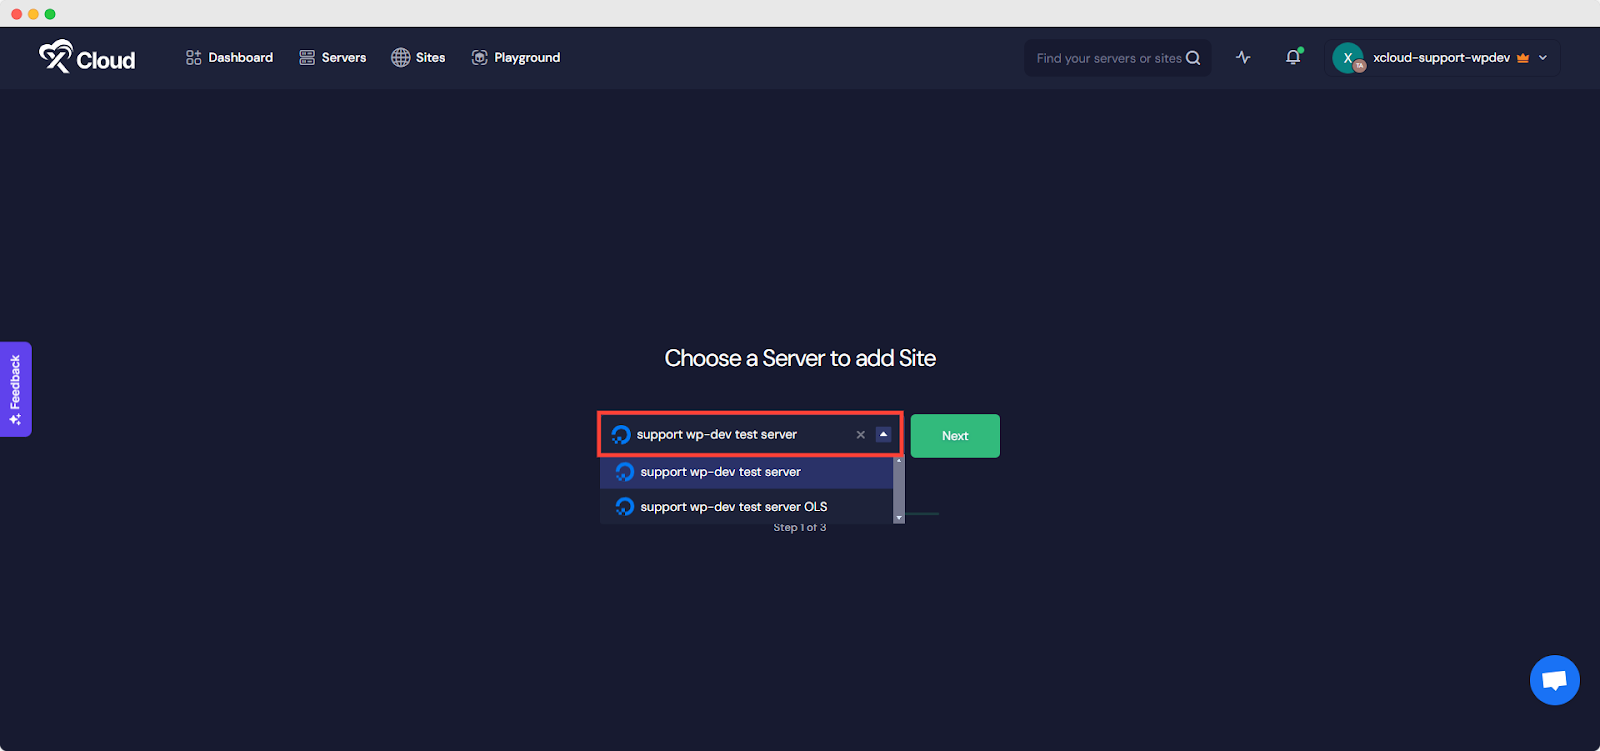
The next screen will provide the list of our major providers to create a server. To create a server with xCloud option you must add your billing information here and billing of your xCloud server will be handled under your current xCloud team account.
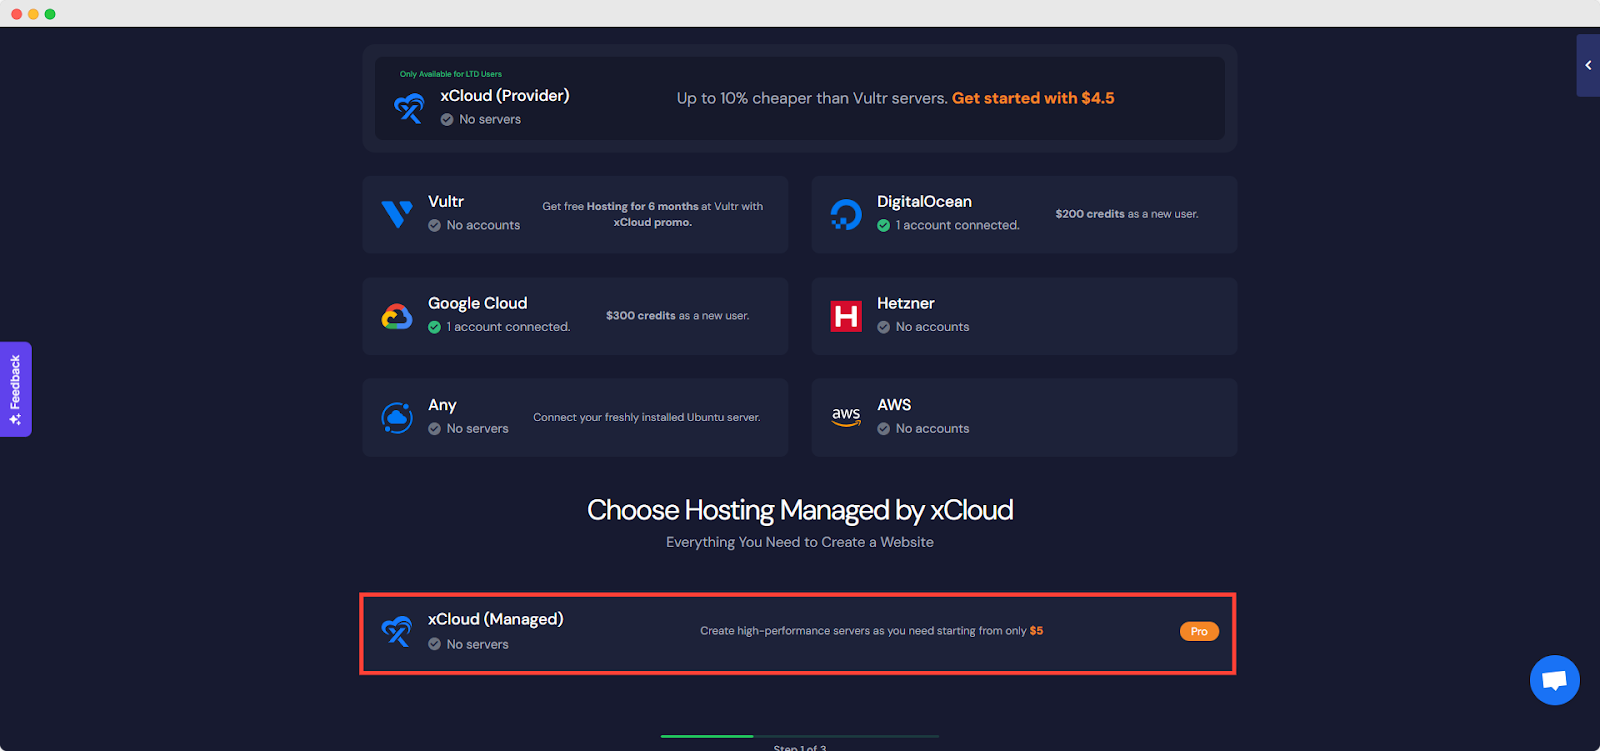
Now you need to provide the Server name, your preferred plan according to your Server Specifications (CPU, RAM, storage), and the Region nearest to you and your visitors. MySQL 8.0 and MariaDB database servers are available in xCloud. By default Database, the Root Password is auto-filled but you can change this and save it in a safe place.
We also offer complete integration with DigitalOcean, Vultr, and Google Cloud Platform which allows you to create and manage servers to your integrated providers directly from xCloud.
Note: Check out the documentation below to find out how to provision a server with any providers:
- How To Set Up A Vultr Server in xCloud and Get Free Hosting for 6 Months?
- How to Setup a Digital Ocean Server in xCloud?
- How To Setup Server With Google Cloud Platform Provider?
- How To Setup Server With Other Providers?
Step 3: Add Necessary Information
Now you need to provide the Server name, your preferred Server Specifications (CPU, RAM, storage), and the Region nearest to you and your visitors. MySQL 8.0 and MariaDB database servers are available in xCloud. By default Database, the Root Password is auto-filled but you can change this and save it in a safe place.
After successfully submitting the form, this might take up to 5-7 minutes only to make the server live and ready to install a lightning-fast WordPress Site without any complexity.
Next: create your first WordPress site
Your server is live. From here, site creation starts from the app catalogue: choose WordPress first and xCloud shows the compatible servers, including the one you just created, or lets you create another managed server inside the same flow. The steps, plan comparison and HTTPS-by-default behaviour are in one place:
Not ready to point a domain? Every creation method can land on a temporary domain first; see create a demo site in xCloud.
Verify the server
- The server shows as connected and provisioned under Servers, in the expected team.
- The plan, region and database engine match what you selected.
- New Site on the server opens the app catalogue.
If the server gets stuck on provisioning or shows a failed status instead, see Server Stuck Provisioning or Installation Failed for the checks, the Retry button and how to remove it.
Still stuck? Contact our support team for any of your queries.